

Restore Your
Headlights
Yourself
A step-by-step guide for anyone who wants a professional result without paying for a restoration service. Choose your headlight issue, follow the exact sanding process, then finish with Vapour headlight restorer.
Lasts about 1 year on its own. Add any protection after the 48-hour cure and it lasts much longer: ceramic coating around 3 years, PPF film up to 10 years.
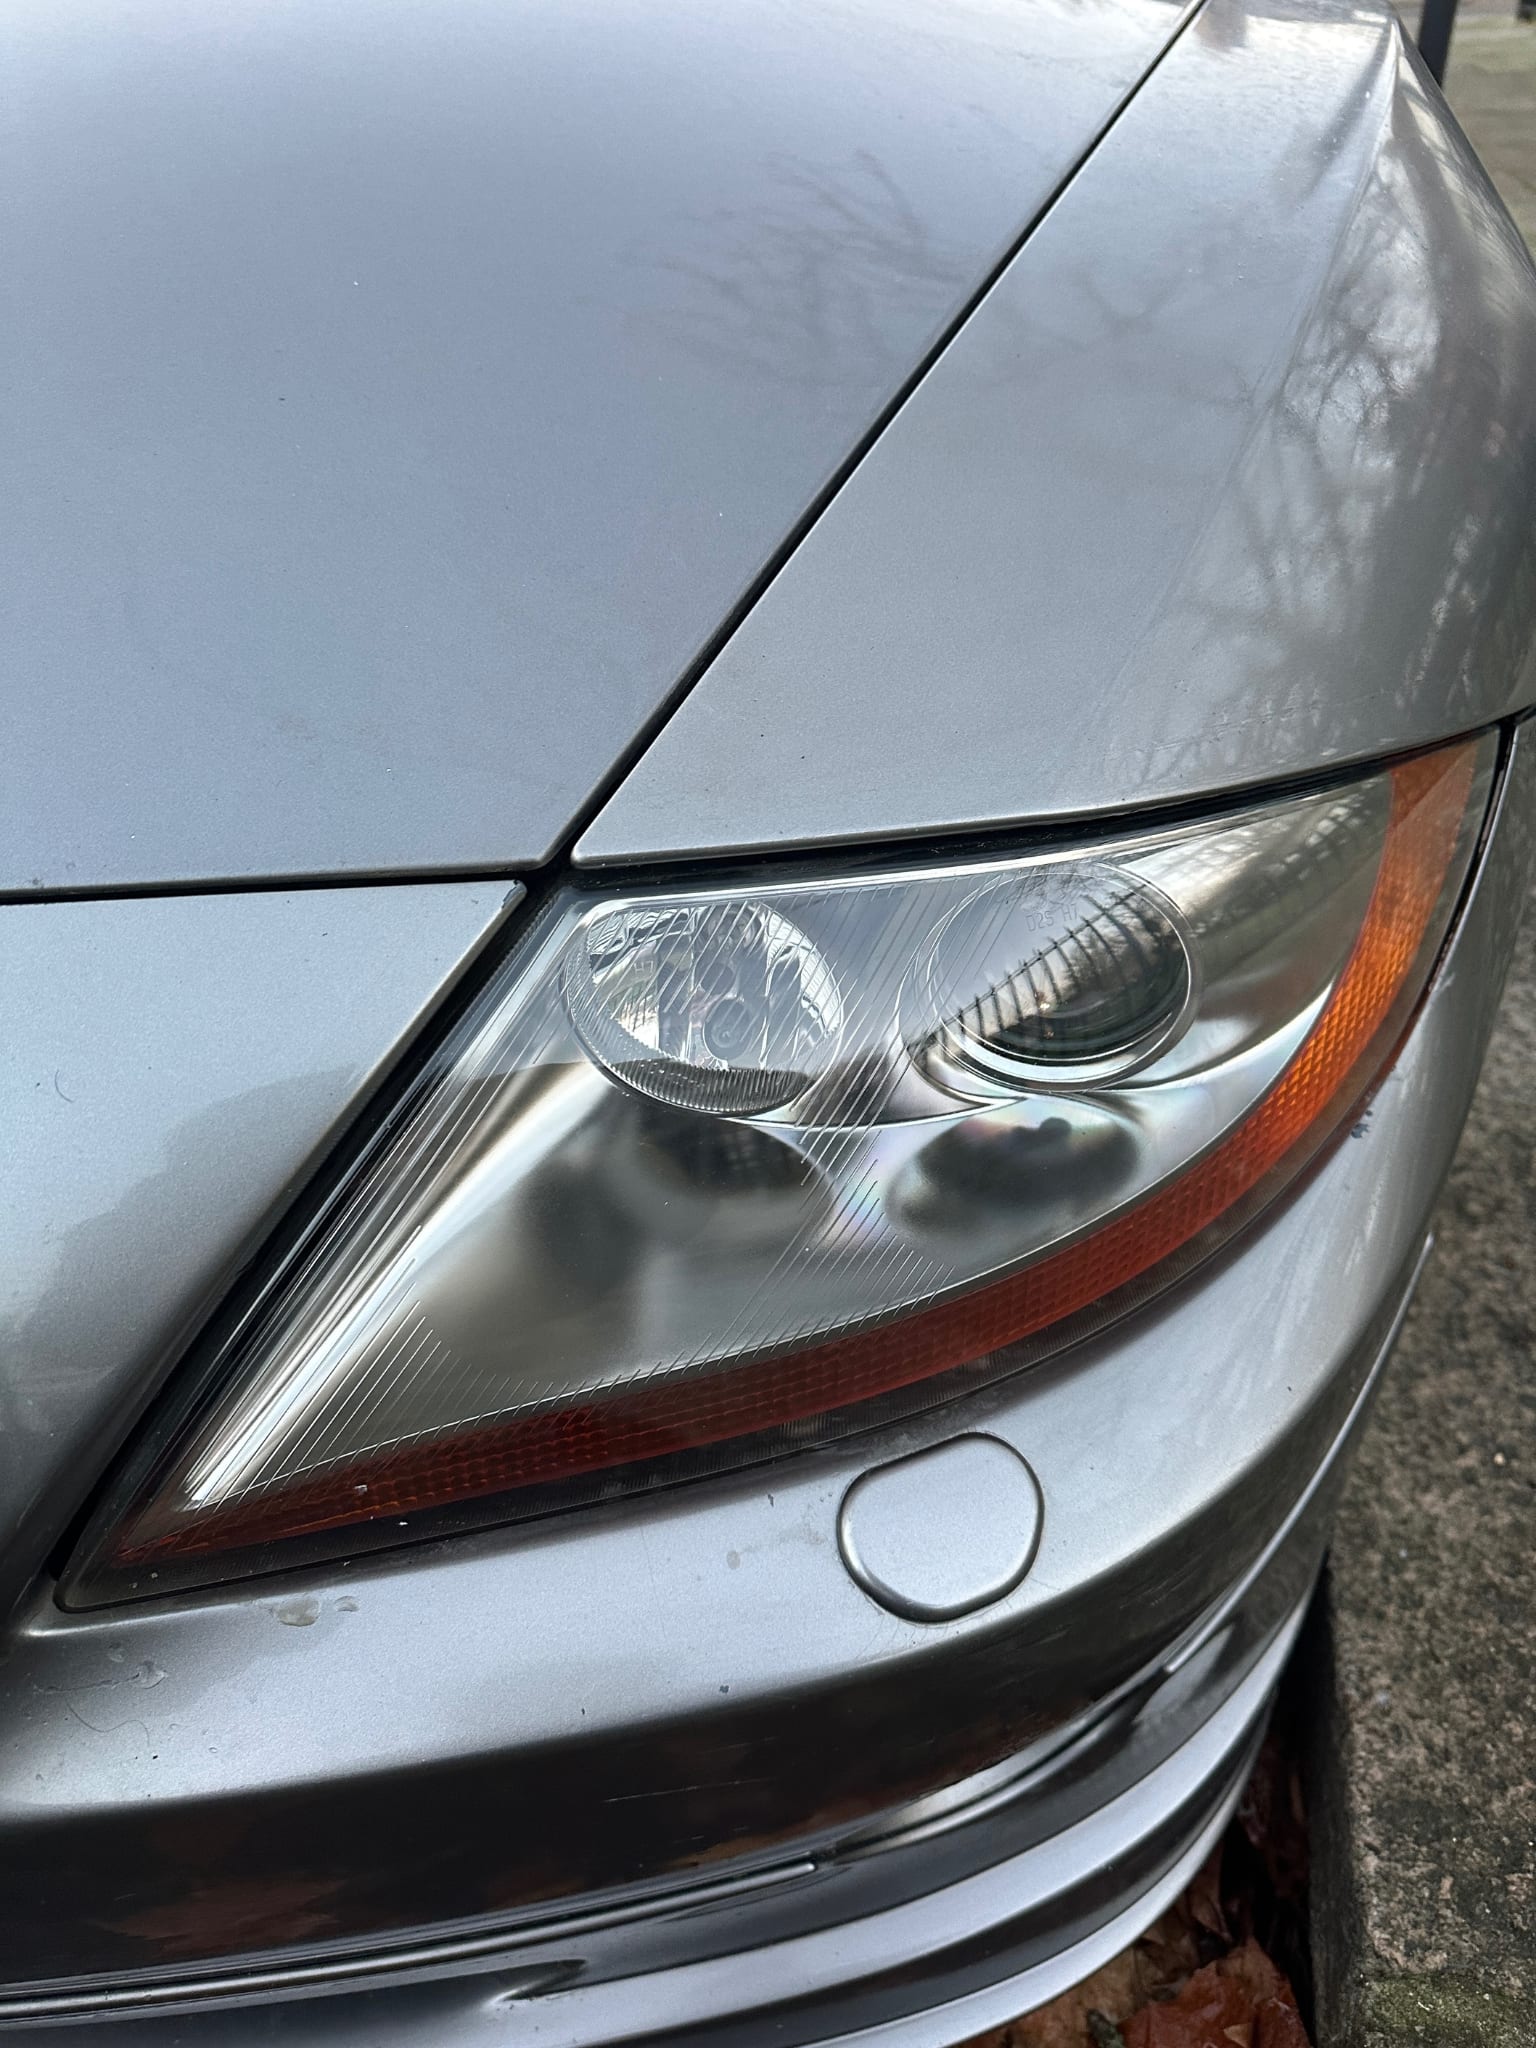
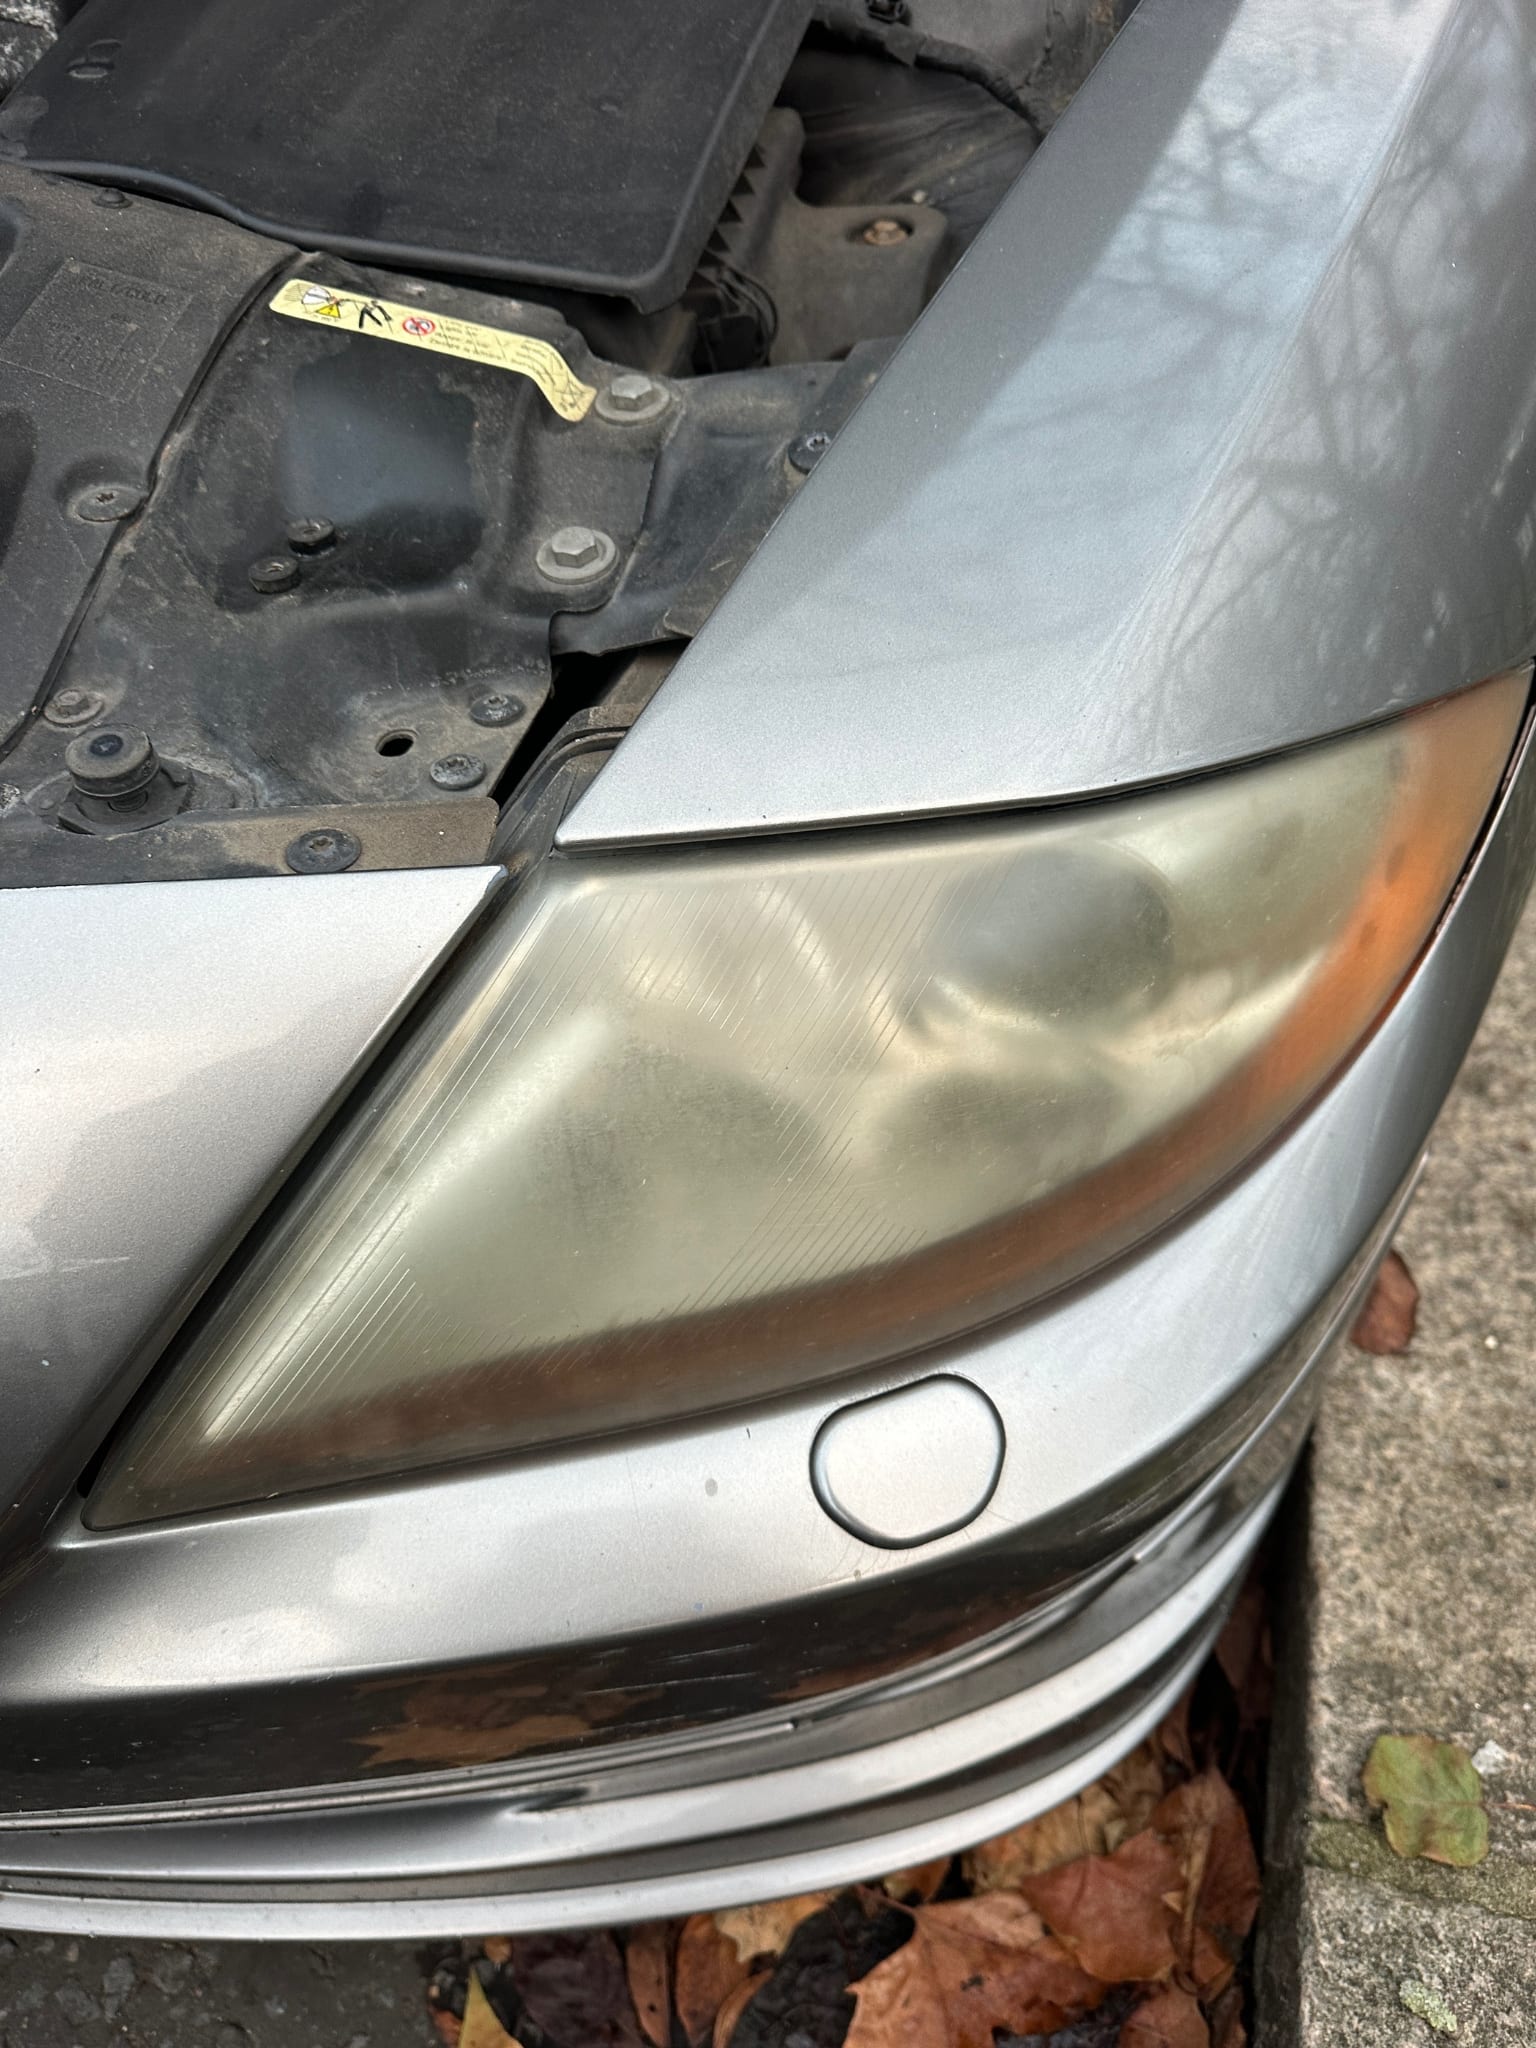
Professional results,
in your own driveway
This guide is for anyone who would like to restore their headlights professionally themselves, rather than paying a headlamp restoration service to do it.
It is based on many years of restoring headlights across London (UK) and Auckland and Nelson (New Zealand). We have restored over 100 cars and helped hundreds of owners restore their own headlights, and we update this guide whenever we find an easier way for beginners and non-technical people to get a great result. You'll find up-to-date advice on how to maintain your headlights, what to do and what to avoid, so they stay looking like new for as long as possible.
Vapour headlight restorer was developed to help anyone with polycarbonate (plastic) headlights — which covers most cars built since the mid-1980s. This technique does not work on glass headlights.
Last updated: November 2026
Works on almost
any headlight
Here is what Vapour headlight restorer can and can't do, and how long you can expect the result to last.
Any car with plastic headlights
It works on any make and model, as long as the headlights are polycarbonate (plastic) rather than glass. That covers most cars built since the mid-1980s.
Any external headlight issue
It restores damage on the outside of the lens:
- Yellowing
- Oxidation
- Haze / fogging
- Crazing
- Micro-cracking
- Light scratches
An honest note
It can't repair moisture inside the headlight or a cracked lens. And in very rare cases a lens simply won't respond: we have had one car where deep sanding and the chemical made no visible difference, and we couldn't find out why. Every other car we have restored has come out successfully.
How long will it last?
Vapour headlight restorer is a restoration product. On its own, the result typically lasts around 1 year. Adding protection afterwards, any protection you like, makes it last much longer.
- Vapour headlight restorer alone About 1 year A clear, like-new restoration with no protection added.
- + Ceramic coating About 3 years Applied 48 hours after restoring, and easy to do yourself.
- + PPF film Up to 10 years A clear film over the lens, best fitted by a professional.
Car wax, reapplied regularly, is a simple budget option that also helps extend the result. See the protection options. Real-world lifespan depends on where the car is stored, how often and how far it is driven, and other conditions.
Video tutorial
Prefer watching to reading? Follow along with the video. Everything in it is also written below, so you can use either, or both.
Watch on YouTube (opens in a new tab)
Jump to a chapter
Read the video transcript
Paste the full transcript of the video here.
Your complete
shopping checklist
Gather everything below before you begin, so you can work through each stage without stopping.
Sanding & preparation
3 items- Protection tape Electrical tape or headlight-restoration tape. Avoid masking tape: it can leave a sticky residue.
- Bottle of water A garden spray bottle works well.
- Wet & dry sandpaper The grits depend on your headlight issue. See the table below.
3 microfibre towels
3 towels- Towel 1: spot uneven sanding Use it to dry the lens between sanding stages.
- Towel 2: final clean Wipe the lens with it just before applying the chemical.
- Towel 3: clean the car Use it after the restoration so no stains are left behind.
Safety gear
3 items- Gloves
- Respirator mask
- Goggles
Protects you from chemical exposure. Put it all on before handling the chemical.
Chemical application
3 items- Vapour headlight restorer By Headlights Forever.
- Atomising cup
- Atomising cup cover
Power for the cup
Pick one- Battery at the front Battery clips.
- Battery at the back Cigarette lighter power cable, or a mains supply to your cup.
- Can't find the battery? Run power from your house with a mains-to-12V adaptor cable.
Optional extras
Nice to have- Sanding block Makes the grip more comfortable.
- Electric polisher + sanding pads Makes sanding faster and much less effort.
- Electric blower Dries the lens quickly so you can check your work.
Which sandpaper grits do I need?
Choose one set, depending on the issue your headlights have. You'll pick your issue in the sanding step below.
| Headlight issue | Wet and dry grits needed |
|---|---|
| Crazing / micro-cracking / light scratches on a newer headlight | 180, 240, 400, 800, 1200 / 1500 / 1600 |
| Yellow on the top only / signs of yellowing / oxidised | 240, 400, 800, 1200 / 1500 / 1600 |
| Evenly yellow or foggy all over | 400, 800, 1200 / 1500 / 1600 |
Pick the right day
and the right spot
When can I start?
Check the weather forecast and make sure it will not rain for at least 4 hours after you apply the chemical. This does not apply if you have a garage or another covered space where the headlights will stay dry for the first 4 hours.
Where to park (and where not to)
✓ Do
- Garage: ideally one big enough to walk comfortably around the headlights while you work.
- Driveway: a good second choice, as long as you can protect the car from rain afterwards.
✕ Don't
- Under a tree: once the chemical is applied the plastic is soft, so you don't want anything falling onto the headlights.
- On a busy street: for your own safety. Minimise the risk of being hit while you work.
Protect your paintwork from sanding
Raise the bonnet and tape off the area around each headlight so you don't scratch the paint while sanding. Use electrical tape, or tape made specifically for headlight restoration. Masking tape is not recommended because it can leave a sticky residue.
Some cars need no masking. On certain models, such as the Porsche Macan and Mini Cooper, lifting the bonnet raises the surrounding panel with it, so there is no paintwork next to the headlights to damage.
Choose your issue,
get your exact steps
Select the option that best matches your headlights. We'll show only the sanding process for that issue.
👆 Tap a headlight photo or title above to see your step-by-step sanding process.
Crazing / Micro-cracking / Light Scratches on a Newer Headlight
Before you begin, wet the headlight by spraying it with water. Spray it again at the start of every stage.
-
180grit
Stage 1: Sand with 180 grit (the key stage)
Sand the whole lens until the surface has an even, uniform finish. It can be hard to judge, so spray the lens with water, dry it, and look for any areas that still need sanding. A surface that feels smooth and slides easily has not been sanded properly. It should feel rough.
This is the hardest stage. You may use 3–4 sheets of 180 grit per headlight, and by hand it can take 30–60 minutes per headlight. A machine polisher makes it much quicker.
- Take your time here, so later stages are easy. If you rush, repeat the stage.
- Make sure the edges are sanded thoroughly.
- Check that you have removed all of the manufacturer's hard coat and reduced the signs of crazing.
Why this matters: the chemical does not react with the manufacturer's hard coat. If any is left, you will waste chemical and have to start the process again.
Photo: ready for next stage✓ Ready for the next stage Photo: not ready✕ Not ready — keep sanding Dry the lens with microfibre towel 1 and blow it dry (an electric blower helps). The surface should look an even, milky matt. Any glossy patches are areas that still need sanding. Once it is even all over, move on. The following stages are much easier.
-
240grit
Stage 2: Sand with 240 grit
Wet the headlight, take a new piece of 240 grit paper and sand all over the lens, including the edges. Dry with microfibre towel 1, then move on.
-
400grit
Stage 3: Sand with 400 grit
Wet the headlight, take a new piece of 400 grit paper and sand all over the lens, including the edges. Dry with microfibre towel 1, then move on.
-
800grit
Stage 4: Sand with 800 grit
Wet the headlight, take a new piece of 800 grit paper and sand all over the lens, including the edges. Dry with microfibre towel 1, then move on.
-
1200+1200/1500/1600
Stage 5: Sand with 1200 / 1500 / 1600 grit
Wet the headlight, take a new piece of 1200, 1500 or 1600 grit paper and sand all over the lens, including the edges. This time, dry with the clean microfibre towel 2 (or a paper towel) and let the lens dry completely.
That's the end of sanding. Your headlight should now look evenly frosted, like this. Continue to applying the chemical.
Yellow on the Top Only / Signs of Yellowing / Oxidised
Before you begin, wet the headlight by spraying it with water. Spray it again at the start of every stage.
-
240grit
Stage 1: Sand with 240 grit (the key stage)
Sand the whole lens until the surface has an even colour. It can be hard to judge, so spray the lens with water, dry it, and look for any areas that still need sanding. A properly sanded surface feels rough and does not let the paper slide.
This is the hardest stage. You may use 2–4 sheets of 240 grit per headlight, and by hand it can take 15–30 minutes per headlight.
- Take your time here, so later stages are easy. If you rush, repeat the stage.
- Sand the edges properly. Even professional restorers have to concentrate on the edges, because you're worried about scratching the paint and tend to press too lightly.
- Check that you have removed all of the manufacturer's hard coat and that the lens has an even colour all over.
Why this matters: the chemical does not react while any of the manufacturer's hard coat remains. It must be removed completely, leaving only bare plastic. If it isn't, you will waste chemical and have to repeat the process.
Photo: not properly sanded headlamp✕ Not properly sanded, hard-coat still on Photo: properly sanded✓ Properly sanded Dry the lens with a microfibre towel and blow it dry (an electric blower helps). This reveals any unsanded areas. If the surface is an even, milky matt all over, move on. The following stages are much easier.
-
400grit
Stage 2: Sand with 400 grit
Wet the headlight, take a new piece of 400 grit paper and sand all over the lens, again including the edges. Dry with microfibre towel 1 and check for visible scratches. If there are none, move on; otherwise sand those areas again.
-
800grit
Stage 3: Sand with 800 grit
Wet the headlight, take a new piece of 800 grit paper and sand all over the lens, including the edges. Dry with microfibre towel 1 and check for visible scratches. If there are none, move on; otherwise sand those areas again.
-
1200+1200/1500/1600
Stage 4: Sand with 1200 / 1500 / 1600 grit
Wet the headlight, take a new piece of 1200, 1500 or 1600 grit paper and sand all over the lens, including the edges. This time, dry with the clean microfibre towel 2 (or a paper towel) and let the lens dry completely.
That's the end of sanding. Your headlight should now look evenly frosted, like this. Continue to applying the chemical.
Completely Yellow / Foggy
Before you begin, wet the headlight by spraying it with water. Spray it again at the start of every stage.
-
400grit
Stage 1: Sand with 400 grit (the key stage)
Hand-sand the whole headlight evenly, including the edges. You don't need a machine polisher for this issue. Spend the most effort on this stage, because it creates the base for everything else. It takes roughly 10–20 minutes per headlight.
- Take your time here, so later stages are easy. If you rush, repeat the stage.
- Sand the edges properly. Even professional restorers have to concentrate on the edges, because you're worried about scratching the paint and tend to press too lightly.
- Check that you have created a proper base and that the headlight has an even colour all over.
Why this matters: the chemical does not react while any of the manufacturer's hard coat remains. It must be removed completely, leaving only bare plastic. If it isn't, you will waste chemical and have to repeat the process.
Photo: not properly sanded✕ Not ready — keep sanding Photo: properly sanded✓ Ready for the next stage Dry the lens with a microfibre towel and blow it dry (an electric blower helps). This reveals any unsanded areas. If the surface is an even, milky matt all over, move on. The following stages are much easier.
-
800grit
Stage 2: Sand with 800 grit
Wet the headlight, take a new piece of 800 grit paper and sand all over the lens, including the edges. Dry with microfibre towel 1 and check for visible scratches. If there are none, move on; otherwise sand those areas again.
-
1200+1200/1500/1600
Stage 3: Sand with 1200 / 1500 / 1600 grit
Wet the headlight, take a new piece of 1200, 1500 or 1600 grit paper and sand all over the lens, including the edges. This time, dry with the clean microfibre towel 2 (or a paper towel) and let the lens dry completely.
That's the end of sanding. Your headlight should now look evenly frosted, like this. Continue to applying the chemical.
Time for
the magic
Once the lens is evenly sanded and completely dry, you're ready for Vapour headlight restorer.
1. Put on your protective equipment
Before handling the chemical, put on your respirator mask, protective goggles and gloves. Work outdoors or in a well-ventilated space. Read the safety label on your bottle and follow its instructions.
2. Heat up the chemical
- Fill the atomising cup Open the bottle of Vapour headlight restorer by Headlights Forever, pour the contents into the atomising cup and close it with the atomising cup cover.
- Connect the power Plug the atomising cup into your power source (see the power options in the checklist above).
- Wait for vapour The chemical will start to heat up. Depending on the outside temperature, it usually begins vaporising after 3–5 minutes. Watch for vapour coming from the top of the atomising cup cover. When it starts, the chemical is ready to use.
Important notes before applying
Keep the cup upright
Hold the atomising cup straight so liquid never runs onto the headlight. Some headlights are flat on top, and reaching the very top may tempt you to tilt the cup, so take care. Spilled liquid can leave a dip or mark in the softened plastic, and you would need to sand and restore that area again.
Never touch the lens
The plastic becomes soft while the vapour is applied, so touching it, even with the edge of the cup, will leave marks. This is most likely on windy days, when you are tempted to hold the cup closer. If you leave a mark, you will need to sand it out and repeat the treatment.
3. Apply the vapour
Hold the vaporising cup straight and point the vapour outlet at the headlight from about 2 cm away. Vaporise both headlights, and that's it. If you've done everything right, they should come out looking brand new.
Fixing common imperfections
Visible scratches from sanding
Wait at least 3 minutes, then sand the lens again with 800 grit, followed by 1200 / 1500 / 1600 grit, and re-apply the chemical.
The headlight looks foggy, not crystal clear
Wait at least 3 minutes, then quickly sand again with 800 grit, followed by 1200 / 1500 / 1600 grit, and re-apply the chemical.
How to tell the restoration was successful
Look at each headlight from the side to spot any cloudy areas you may have missed. If you find any, vaporise those areas as well.
Keep them looking
like new
Immediately after restoration
- Don't touch the headlights and keep them away from water: at least 1 hour, ideally 4.
- Avoid driving for the first hour.
- Don't wash them or apply any product for 48 hours. Some car-care products can react with the treated surface.
Protect your headlights after 48 hours
Vapour headlight restorer restores your headlights, and on its own the result lasts about 1 year. Protection is optional, but it is what makes the result last much longer, and you can use any protection you like. Wait 48 hours before applying it: the restored surface needs oxygen to cure properly. These are the options we suggest.
DIY-friendly protection
- Gyeon Q² Trim EVO: about 3 years of protection and easy to apply.
- CarPro DLUX: about 3 years of protection. You need to wait 1 hour between layers.
Best done by a professional
A professional installer also gives you a warranty if the film ever starts to lift.
- XPEL: 10-year manufacturer warranty, the most expensive, with plenty of UK-certified workshops.
- SunTek: 10-year manufacturer warranty, but can be hard to find in the UK.
- STEK: 10-year manufacturer warranty, the most affordable.
Troubleshooting
Or let us do it for you.
Based in London? We offer mobile headlight restoration across South & Central London — we come to you, from £70.